 Singing Start Guide
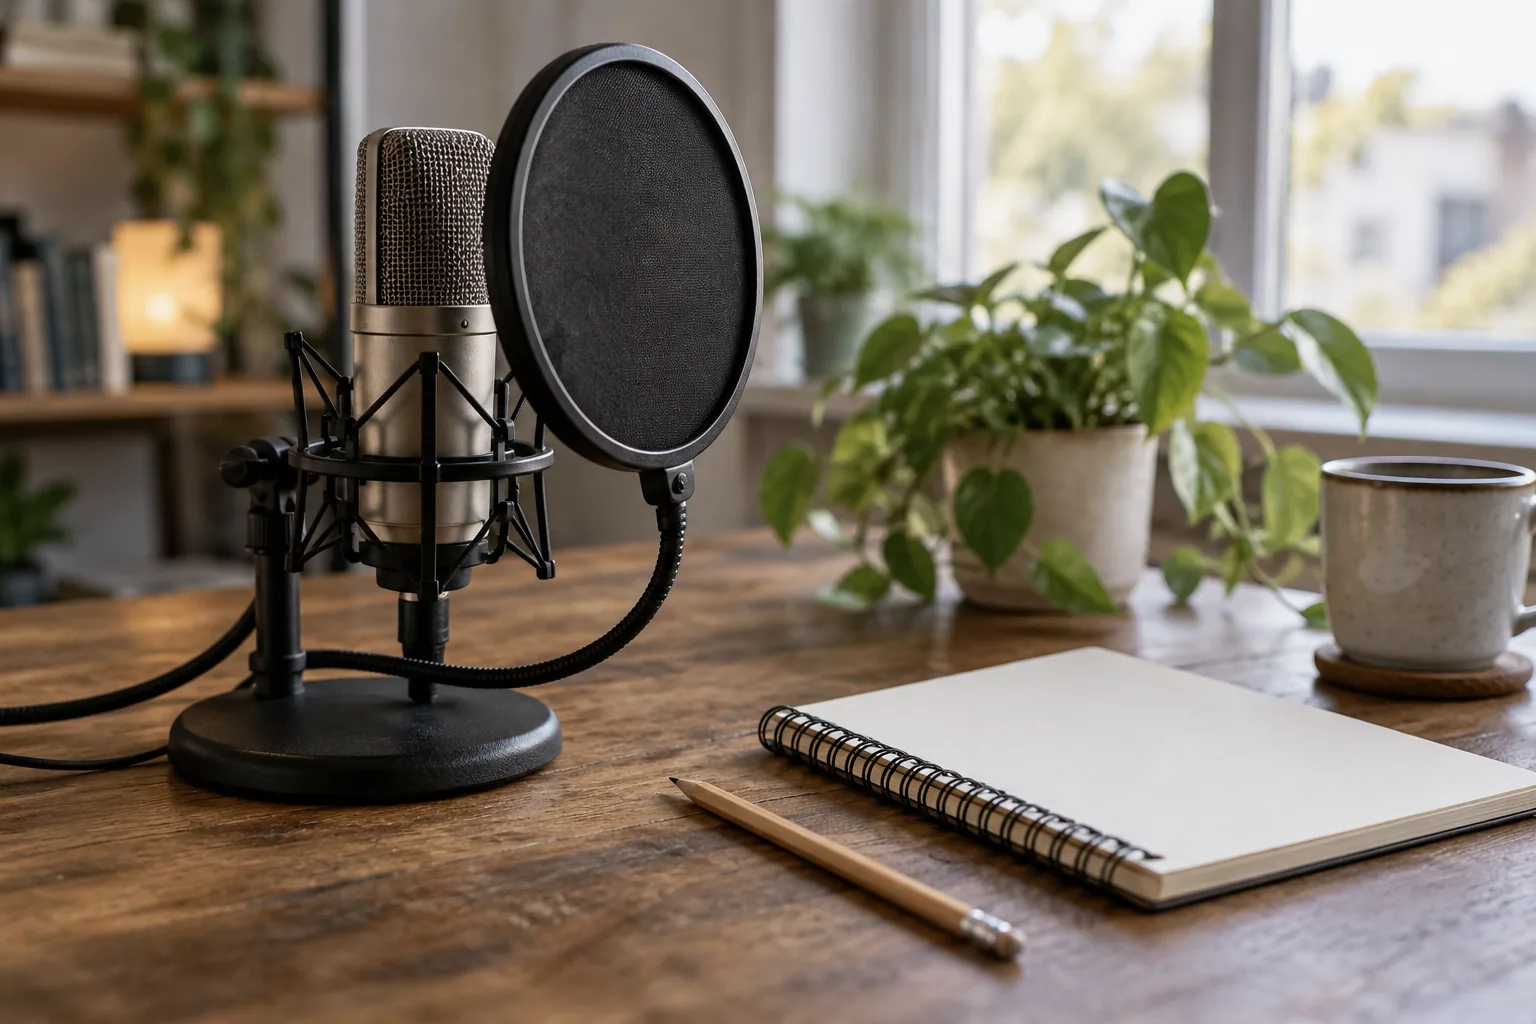
Recording is unforgiving: it plays back exactly what you did, including the breath you did not take. Per the vendor’s page, Singorama includes 28 audio modules and a mini recording studio with a virtual keyboard (we have not completed it).
Affiliate link: we earn a commission if you buy, at no extra cost to you.
See what’s inside →Learning how to record vocals at home is mostly a process of eliminating own goals. The recording itself is easy; software is free and a usable microphone costs less than a night out. What separates a home vocal that sounds like a demo from one that sounds like a phone call is a short list of unglamorous decisions about where you stand, how loud you set the gain, and when you stop. None of it requires expensive equipment, and this guide deliberately does not point you at a shop.
The signal chain, in plain English
Every vocal recording, from a bedroom to Abbey Road, is the same five stages. Understanding them tells you where a problem is coming from.
- You and the room. Your voice plus every reflection off every hard surface. This stage causes most bad home recordings and costs nothing to improve.
- The microphone. Converts air pressure into a tiny electrical signal. Dynamic if your room is untreated, condenser if it is not.
- The preamp. Boosts that tiny signal to a usable level. It is inside a USB microphone, or inside your audio interface if you use XLR.
- The converter. Turns the analogue signal into digital data. In the same box as the preamp, and in the entry bracket, genuinely not something to worry about.
- The software. Records, stores and lets you edit. Free options are excellent now and there is no reason to spend money here as a beginner.
Room treatment on a budget of almost nothing
The enemy is early reflections: your voice bouncing off a wall and arriving back at the microphone a few milliseconds later. That is what makes a bedroom vocal sound boxy. You cannot remove it with plugins, so you deal with it in the room.
What genuinely helps, in order of value per pound spent:
- Stand somewhere that is not the middle of the room, and not facing a bare parallel wall. Free, and the biggest single improvement available.
- Put something thick and soft behind you. A duvet over a door, a hanging curtain, an open wardrobe full of clothes. Behind the singer matters most, because that is where your voice goes past the microphone and comes back.
- Break up the wall you are facing. A bookcase with unevenly spaced books scatters reflections surprisingly well.
- Get a rug down if the floor is hard. Floor and ceiling reflections are the ones people forget.
- Turn things off. Fridge, fan, boiler, laptop with a spinning fan. Record thirty seconds of silence and listen at high volume; you will be startled by what is in the room.
What does not help nearly as much as the internet suggests: foam tiles in small quantities, egg boxes, and duvets used as a decorative gesture rather than actually hung across the reflection path.
Gain staging without the jargon
Gain staging means setting each stage loud enough to be clean and quiet enough not to distort. For home vocals there is one practical instruction: sing your loudest phrase, and set the gain so it peaks somewhere around minus 10 to minus 6 on the meter. That leaves headroom for the note that comes out bigger than you expected, which it will.
Digital distortion is not warm or characterful. Once a take clips, the take is gone. Recording a bit quiet is recoverable; recording too hot is not. Set the level with your loudest chorus, not with your speaking voice, and re-check it if you change your distance from the microphone.
Troubleshooting the usual problems
| What you hear | Likely cause | Fix |
|---|---|---|
| Boxy, hollow, “in a bathroom” | Early reflections from bare walls | Soft material behind you; move off the wall |
| Thumping on P and B sounds | Plosives hitting the capsule | Pop filter, or sing slightly off-axis |
| Thin and distant | Too far from the microphone | Move closer; a hand’s width is a good start |
| Boomy and muddy on low notes | Proximity effect from being very close | Back off slightly, or use a low-cut filter |
| Crackling or harsh distortion | Clipping; gain set too high | Lower gain, aim for peaks near minus 8 |
| Constant hiss | Gain too high on a quiet source | Get closer and lower the gain |
| You sing behind the beat | Monitoring latency through the computer | Use direct monitoring on the mic or interface |
| Sibilant, spitty S sounds | Bright microphone plus on-axis position | Angle the mic slightly across your mouth |
How many takes should you do?
Fewer than you think, and stop earlier than feels right. Voices have a performance curve: a couple of warm-up passes, then a window of three or four takes where you sound your best, then a slow decline as fatigue and frustration set in. Beyond about take eight most singers are getting worse while believing they are getting closer.
A workable session looks like this: warm up away from the microphone for five minutes using simple warm-ups, record three full takes without listening back between them, then listen and decide whether you have it. If you do not, record three more and stop for the day regardless of the outcome. Tomorrow’s first take will beat today’s twelfth. If your voice feels tired or scratchy at any point, stop entirely and read the signs of vocal strain, because pushing through is how singers lose a week.
Choose material that does not fight you, too. Recording exposes range problems instantly, so start with something comfortably inside your voice from our list of easy songs to sing rather than the hardest thing you know.
The one habit that changes everything
Record the same thirty seconds of one song every Sunday and keep every file. Do not delete the bad ones. Three months in you will have a dozen takes of the same phrase, and the improvement between week one and week twelve is far more motivating than any single good take, because it is evidence rather than hope. That archive also shows you what is not improving, which is where a structured course earns its money: Singorama’s breath and onset modules exist precisely for the problems that survive twelve weeks of unguided repetition. Build the recording habit into your weekly routine and it stops being an event.
Frequently Asked Questions
What software should I use to record vocals at home?
Whatever is free and already on your machine. Every major operating system ships with something capable, and there are well-established free recording applications that will outlast your interest in this hobby. Paying for software as a beginner solves nothing you currently have.
Why do my home recordings sound so bad compared with my voice in the room?
Two reasons, and only one is fixable. Your room is adding reflections a listener in the room ignores but a microphone captures. And you hear your own voice partly through the bones of your skull, which adds warmth nobody else has ever heard. The room you can fix; the second one you simply get used to.
Should I use effects while recording?
Add reverb to what you hear in your headphones, because it helps you sing more confidently, but record the track dry. Effects printed into a recording cannot be removed later, and a dry take gives you every option afterwards.
How close should I stand to the microphone?
Roughly a hand’s width for a dynamic, a little further for a condenser, and consistently. Moving around between phrases changes your tone and volume in ways that are difficult to fix afterwards. Mark your spot on the floor if you drift.
What to Read Next
- More home recording guides
- Breath support, which recordings expose fast
- Warm-ups before you hit record
- A practice routine that includes recording
⚠️ Affiliate disclosure: some links in this article are affiliate links. If you buy through them we may earn a small commission at no extra cost to you — it never changes what we recommend. Read our full disclosure.